Installing Ubuntu 12.04.2 Server LTS as a Virtual Machine
One step in setting up a virtual network is to install Ubuntu in a virtual machine. This is relatively straightforward when using VirtualBox (and other VM software). Here I list the main steps in performing the install, with selected screenshots. This can be used for those who have never installed Ubuntu before.
The instructions are for, and were performed with, VirtualBox 4.1.12_Ubuntu r77245 on a host machine running Ubuntu 12.04 Desktop (64-bit). The virtual machine guest was Ubuntu 12.04.2 Server LTS (32-bit), with filename ubuntu-12.04.2-server-i386.iso (available for download from Ubuntu or from a local mirror. Other versions of VirtualBox running on other operating systems (Windows, MacOS, Linux) should involve the same steps. If you choose a different version of Ubuntu as the guest then the steps may differ slightly.
Most of the steps involve selecting the default options. I have tried to summarise the set of options you must choose (other than default) in the table below. Note the values chosen assume you are using this install of Ubuntu in a virtual network. They are probably not the best values if you want to install Ubuntu for other purposes.
| System | Parameter | Value |
|---|---|---|
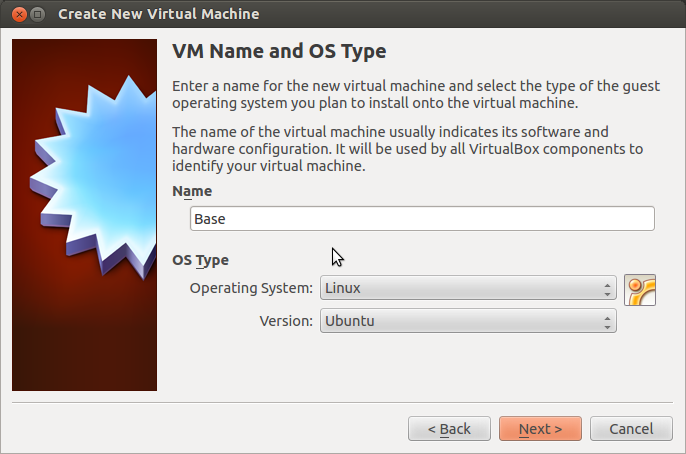
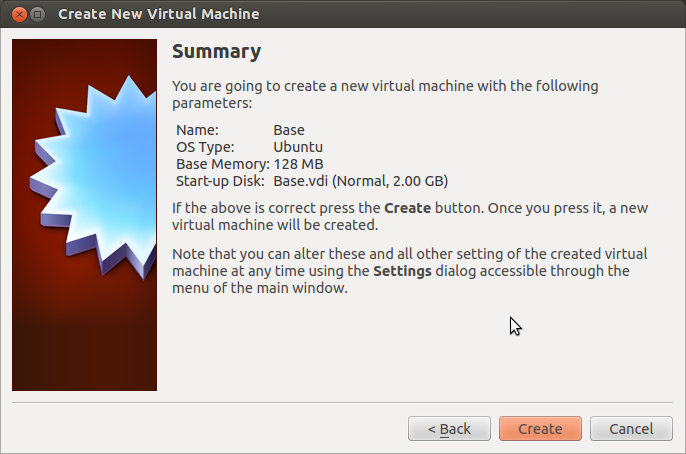
| VirtualBox | Name | Base |
| VirtualBox | Operating System | Linux |
| VirtualBox | Version | Ubuntu |
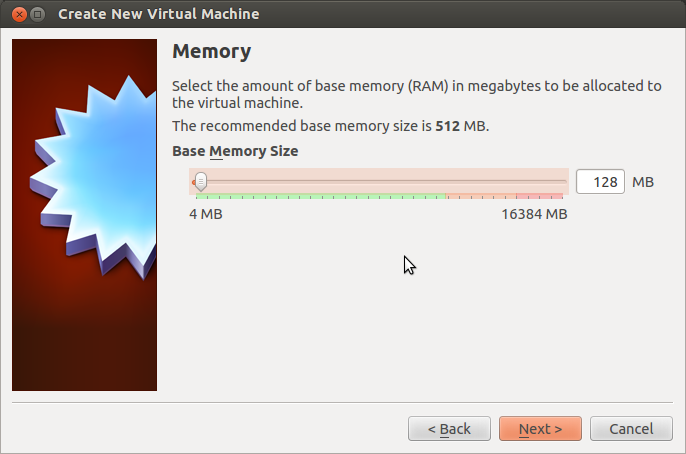
| VirtualBox | Base Memory Size | 128 MB |
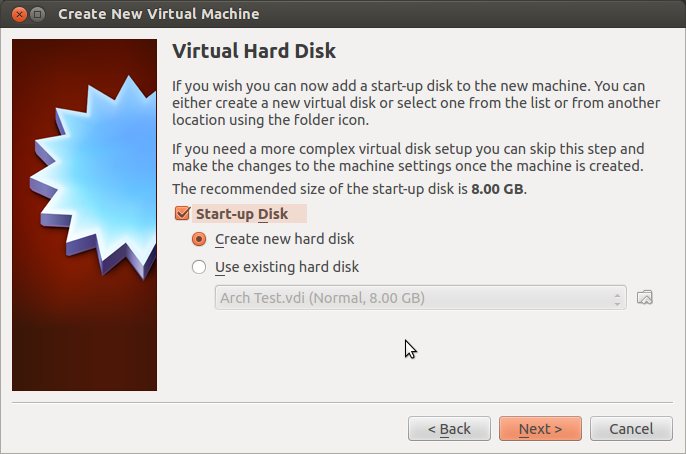
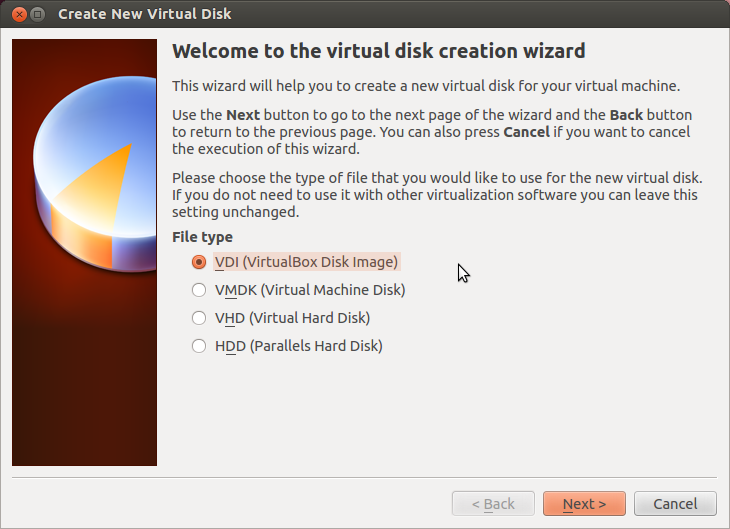
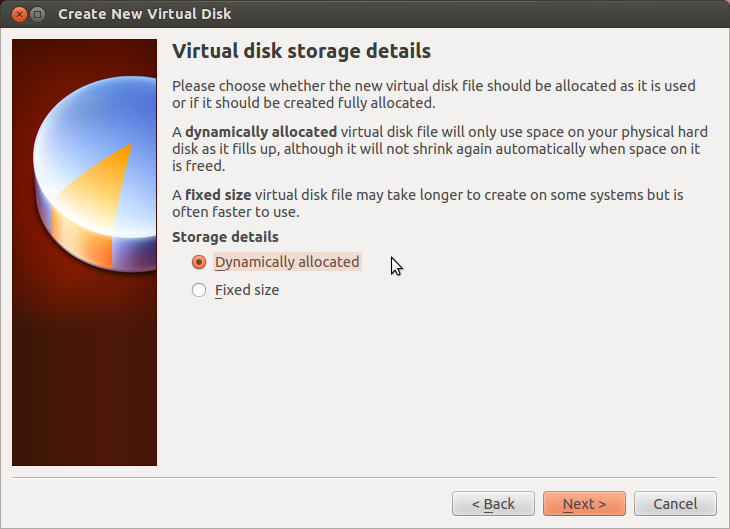
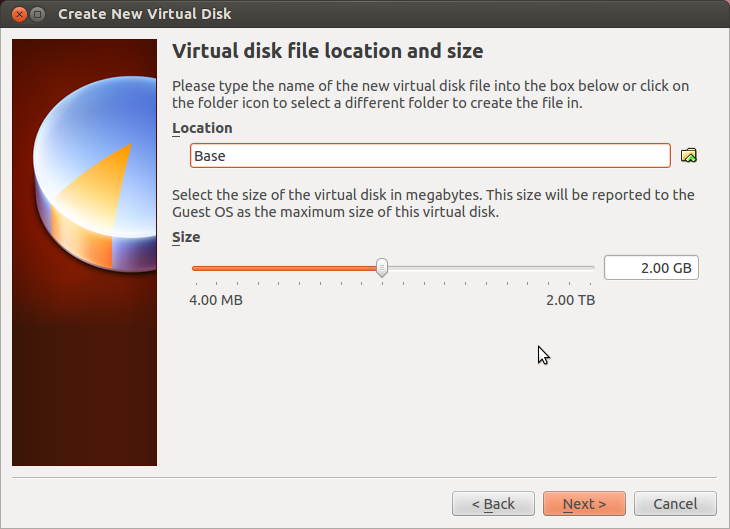
| VirtualBox | Virtual Disk Size | 2 GB |
| VirtualBox | Installation media source | ubuntu-12.04.2-server-i386.iso |
| Ubuntu Install Menu | Modes | Install a minimal virtual machine |
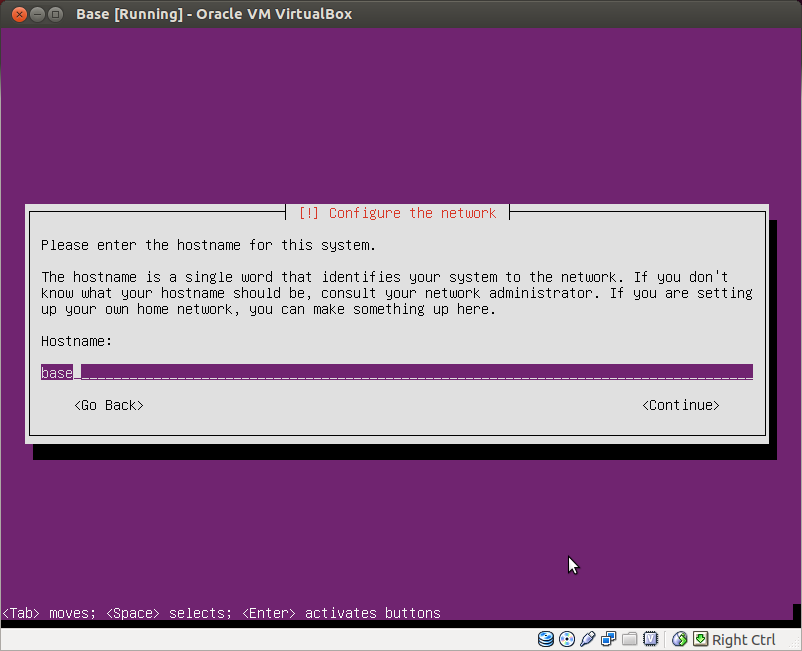
| Ubuntu Installation | hostname | base |
| Ubuntu Installation | username | network |
| Ubuntu Installation | password | [your choice] |
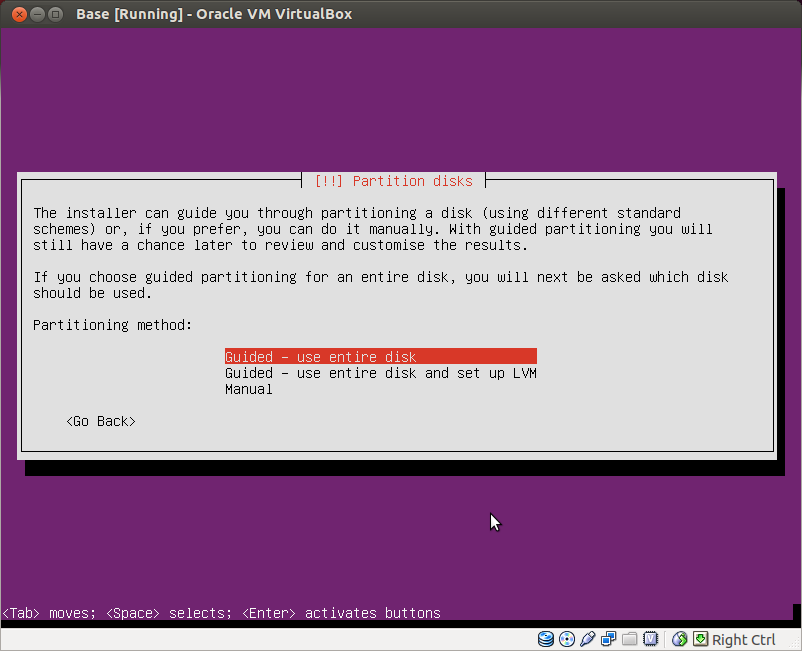
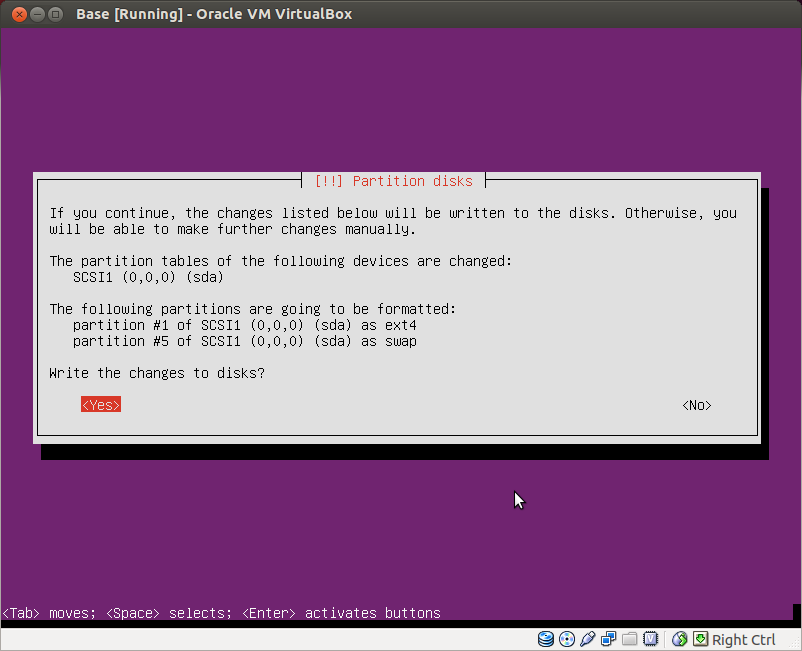
| Ubuntu Installation | Partition disks | Guided - use entire disk |
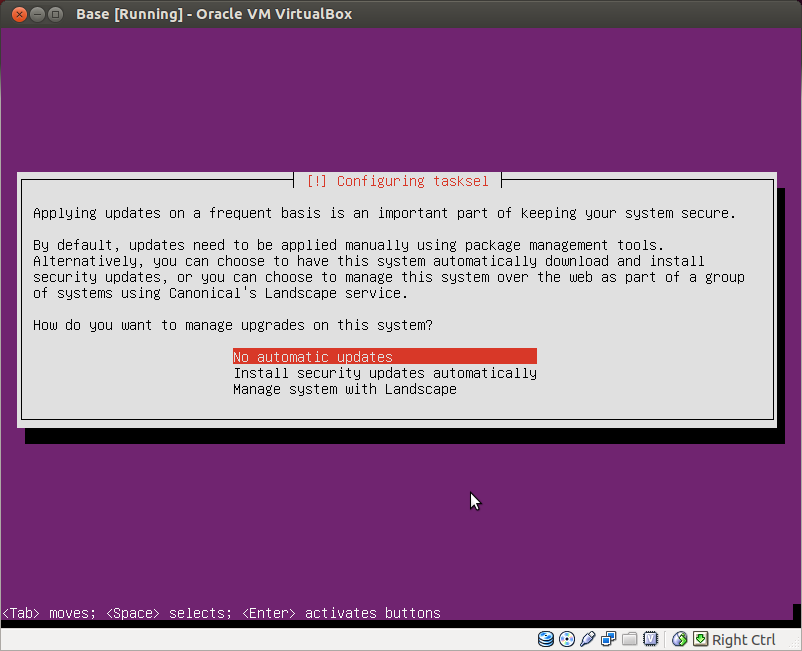
| Ubuntu Installation | Upgrades | No automatic updates |
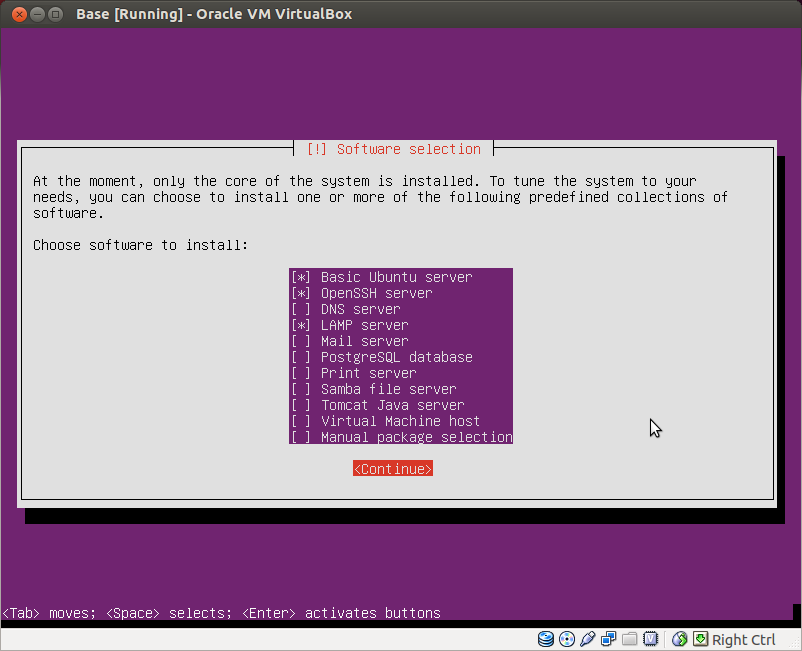
| Ubuntu Installation | Software selection | Basic Ubuntu server, OpenSSH server, LAMP server |
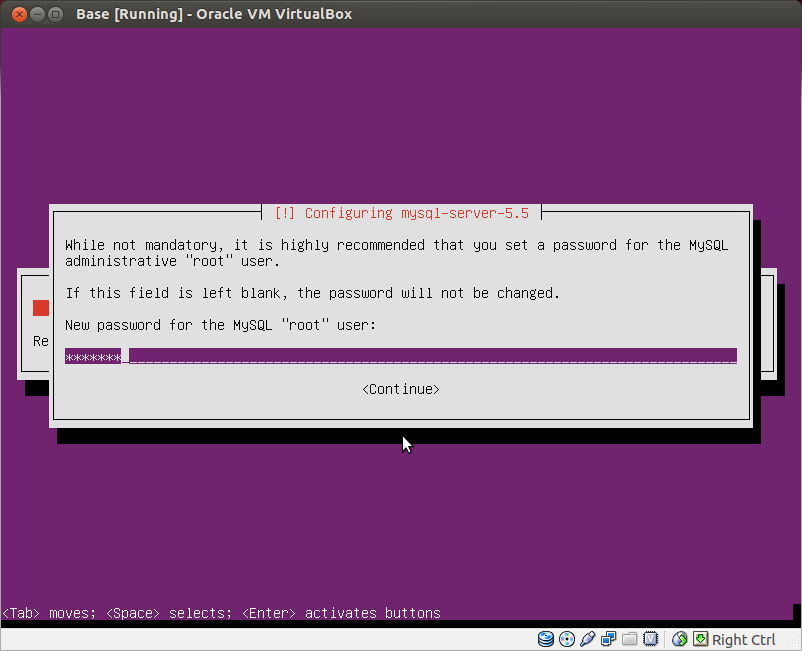
| Ubuntu Installation | MySQL root password | [your choice] |
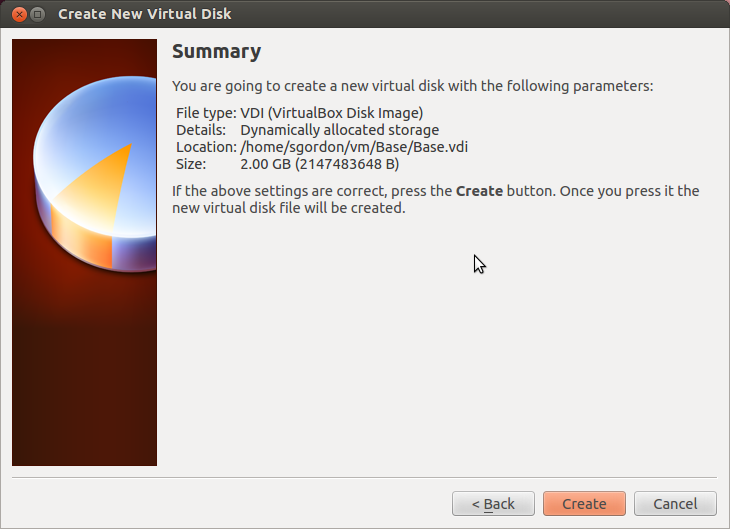
Creating New Virtual Machine in VirtualBox
Read the screenshot captions for further information.
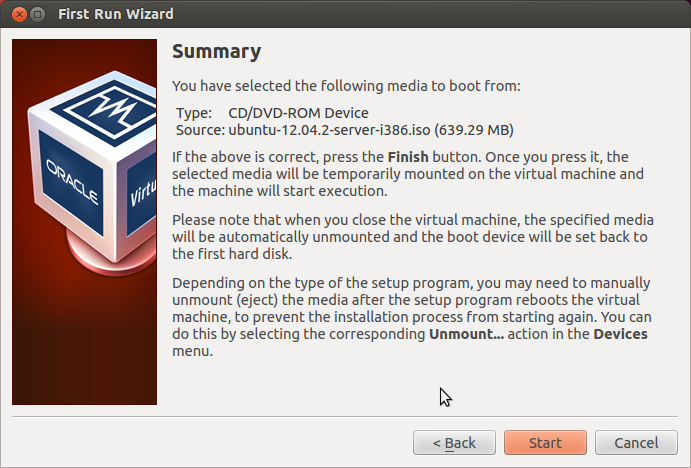
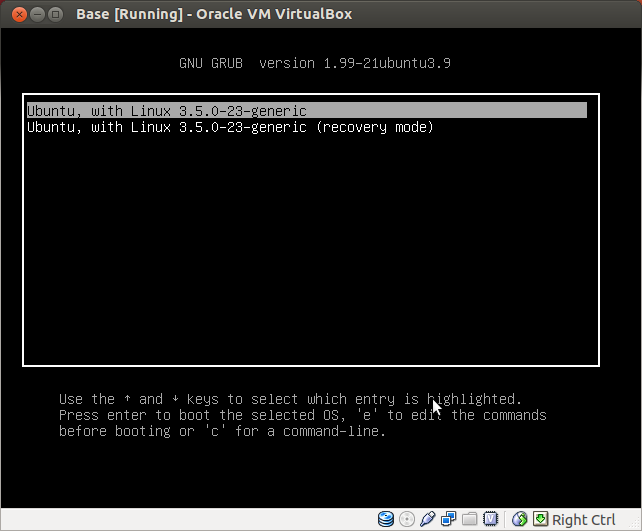
Running a Virtual Machine Guest for First Time


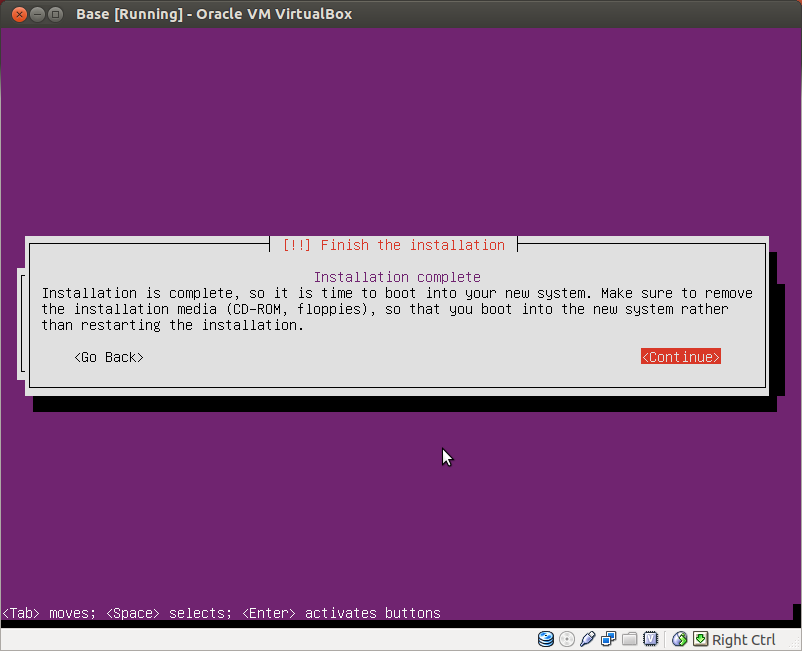
Installing Ubuntu as Guest
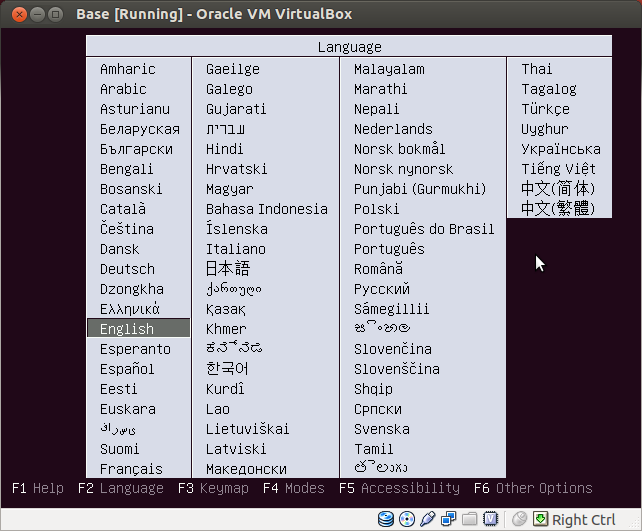
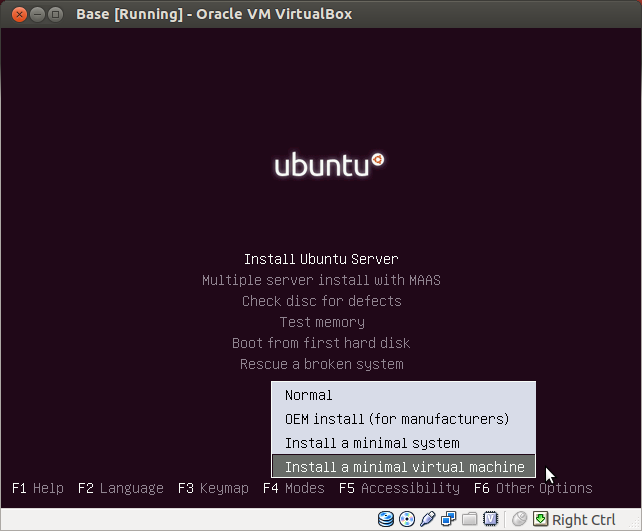
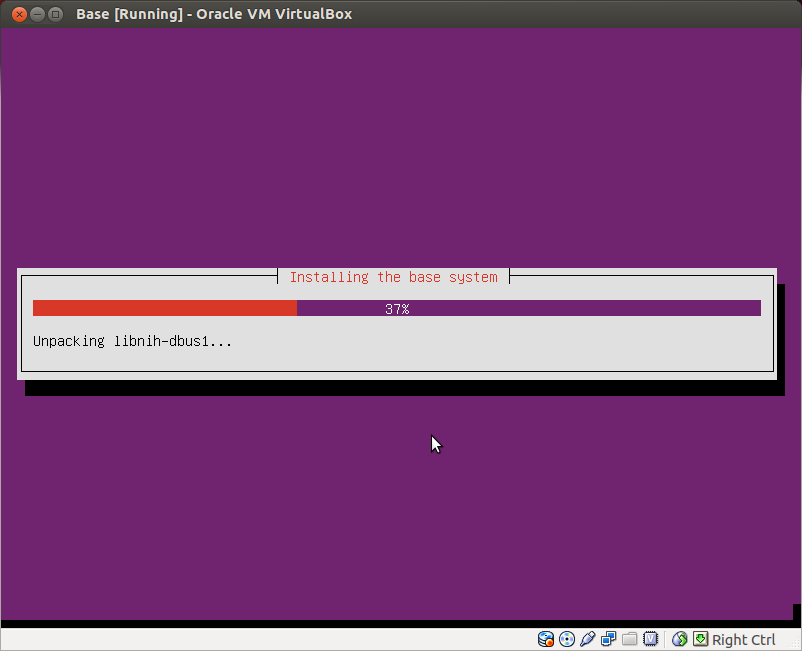
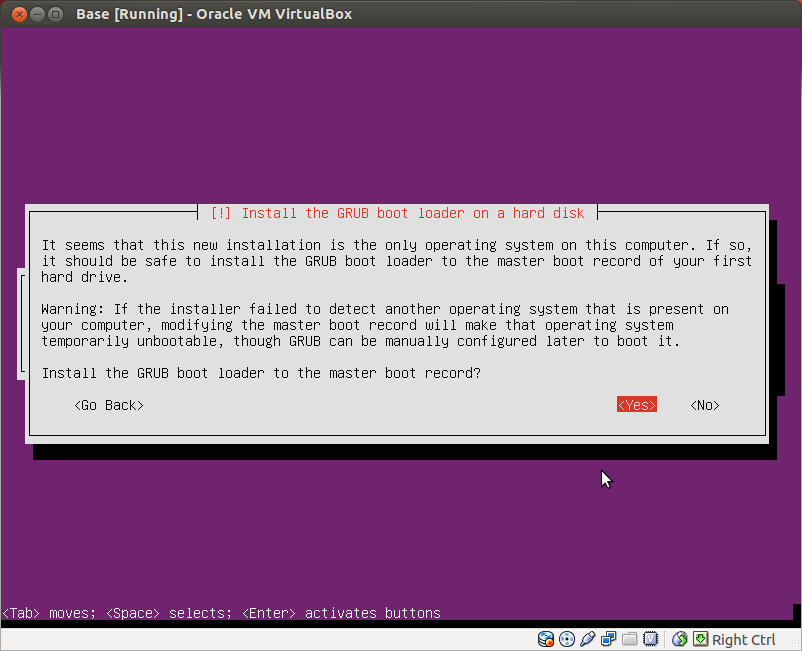
Note that the following are only some of the screens you will see. Read them carefully and select appropriate values.
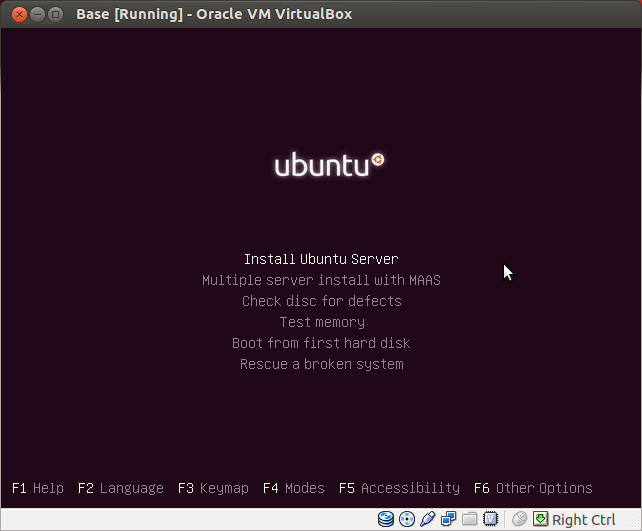
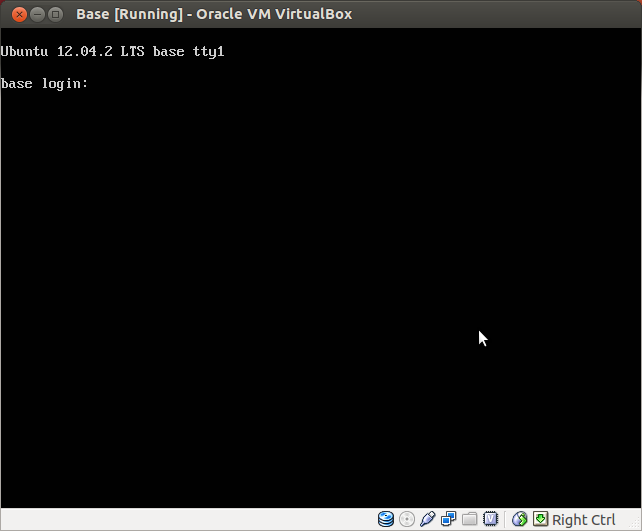
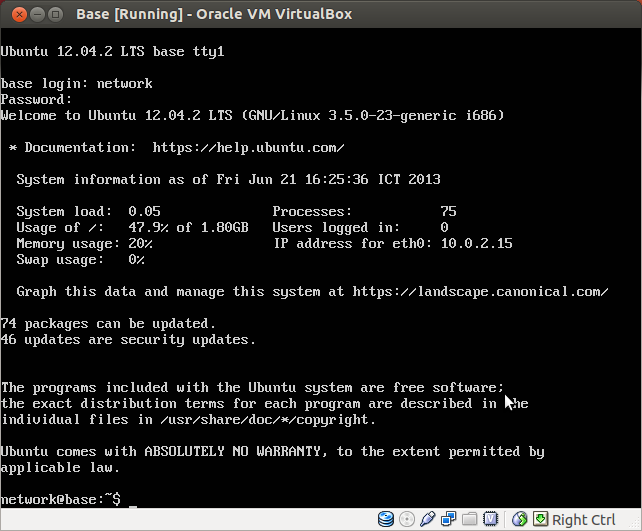
First boot of Ubuntu
Created on Tue, 25 Jun 2013, 3:25pm
Last changed on Sun, 18 Aug 2013, 6:29pm